How to Write an AI Tattoo Prompt: A Five-Part Framework
Turn a rough tattoo idea into a useful AI concept with five inputs, tested examples, a refinement checklist, and clear artist handoff boundaries.
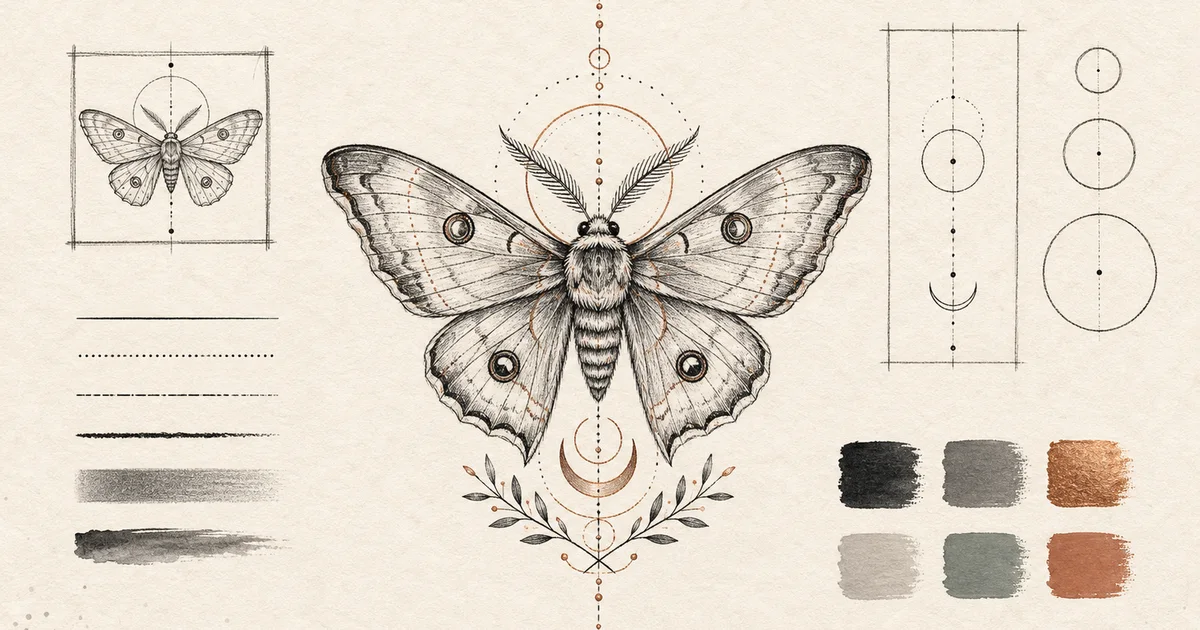
A useful AI tattoo prompt does not need to sound technical. It needs to make five decisions clear enough to test: concept, style, placement, size, and color.
That is also the limit of what a prompt can decide. An AI image can help you see a direction, but it cannot inspect your body, choose final line weight, or produce a stencil that is ready to tattoo. Treat the result as a private concept reference for a conversation with your tattoo artist.
The five-part framework
Start with this structure:
Concept and meaning + style + placement + size + color
In AI Tattoo Design, the first part goes in the concept field. The other four are separate selectors, so you do not have to repeat every setting in a long paragraph.
| Input | What to decide | Example |
|---|---|---|
| Concept | Main subject, meaning, must-keep elements, and exclusions | A moth representing change, with a crescent moon and two fern leaves; no text |
| Style | One supported visual direction | Fine line |
| Placement | Body area and useful composition direction | Forearm |
| Size | A planning category, not exact inches or centimeters | Medium |
| Color | Let the model choose, black and grey, or full color | Black and grey |
Quality is a separate execution setting, not a sixth creative prompt part. Low is available to all accounts; Medium and High require paid access. It does not change the five-part text prompt, and every quality still uses the same 1-credit generation rule.
The resulting setup is more useful than “moth tattoo” because it separates what matters from what can change. It is still concise enough to diagnose when the first image misses the point.
1. Write the concept before adding visual adjectives
The concept field should answer four questions:
- What is the main subject?
- What does it mean to you?
- Which visible elements must remain?
- What should not appear?
If you are still deciding why the subject matters, the seven-part motivation framework can help separate memory, expression, belonging, transition, adornment, agency, and art without turning the exercise into a personality test. For symbols with public associations, research the layers before prompting: our guides to the semicolon’s continuation context, Medusa’s historical and modern readings, and swallow imagery in naval and personal contexts show how to avoid a one-meaning codebook.
A practical concept might be:
A moth representing change, with a small crescent moon and two fern leaves. Keep a clear silhouette and balanced symmetry without looking mechanical. No text.
“Representing change” gives the image an emotional direction. “Small crescent moon and two fern leaves” defines visible ingredients. The last two sentences give the model constraints you can check.
Avoid filling the field with a stack of near-synonyms such as “beautiful, stunning, amazing, perfect, highly detailed.” Those words do not tell you what to fix. A named subject, a compositional preference, and an exclusion do.
Adobe’s own guidance for its separate image product similarly recommends specifying subject, style, mood, and color. Its page also describes reference uploads and editing, which are Adobe features—not capabilities of AI Tattoo Design. Always write for the controls in the tool you are actually using. See Adobe’s prompt guidance.
2. Choose a style as a direction, not a guarantee
The current style options are:
- Auto
- Fine line
- Minimalist
- Blackwork
- Traditional
- Japanese
- Realism
Each option changes the instruction sent to the image model. It does not certify that an output follows every convention of a tattoo tradition. If you are unsure, use Auto for the first concept, then compare one named style while keeping the other inputs fixed.
For a closer look at what each option means in this generator, use the tattoo styles guide.
3. Use placement to describe composition
Placement is useful before you know the final measurement because it suggests a shape:
- Forearm and calf favor a vertical direction.
- Upper arm and shoulder favor a rounder composition.
- Chest favors a broader arrangement.
- Back and spine favor an elongated arrangement.
- Ribs and side favor a curved flow.
These are prompt directions, not a skin preview. AI Tattoo Design does not ask for a body photo and does not simulate how the design wraps around you. Choose the nearest category, then let a tattoo artist test the concept against the actual body area.
The placement and size guide explains every current option and how to hand off real measurements.
4. Let size control detail before it controls measurement
Small, medium, and large are design-planning categories in the generator. They are not fixed dimensions.
- Small asks for a simpler image with limited fine detail.
- Medium allows moderate detail while keeping a clear silhouette.
- Large allows layered detail and more intentional negative space.
- Unsure keeps the composition adaptable for an artist to refine.
If a result looks crowded, do not solve it by adding more descriptive words. Remove secondary objects, switch to a simpler style, or test a larger size category. Your tattoo artist should decide the final width, height, spacing, and line weight.
5. Make color an explicit choice
Use Black and grey when color is not part of the idea. Use Color when the palette carries meaning or helps separate the subject. Use Auto when you want to explore before committing to either direction.
If a specific color matters, name it in the concept as well as selecting Color:
A red sun behind the crane; keep the crane black and grey.
That makes the must-keep relationship visible. It still does not decide the final pigments or how color should be executed on skin.
What happened in a real two-prompt test
We ran two original editorial generations on July 28, 2026 using the current prompt builder and image provider. No user image or private generation was used.
The vague test used only “A moth representing change,” with Auto style, Unsure placement, Unsure size, Auto color, and Medium quality.
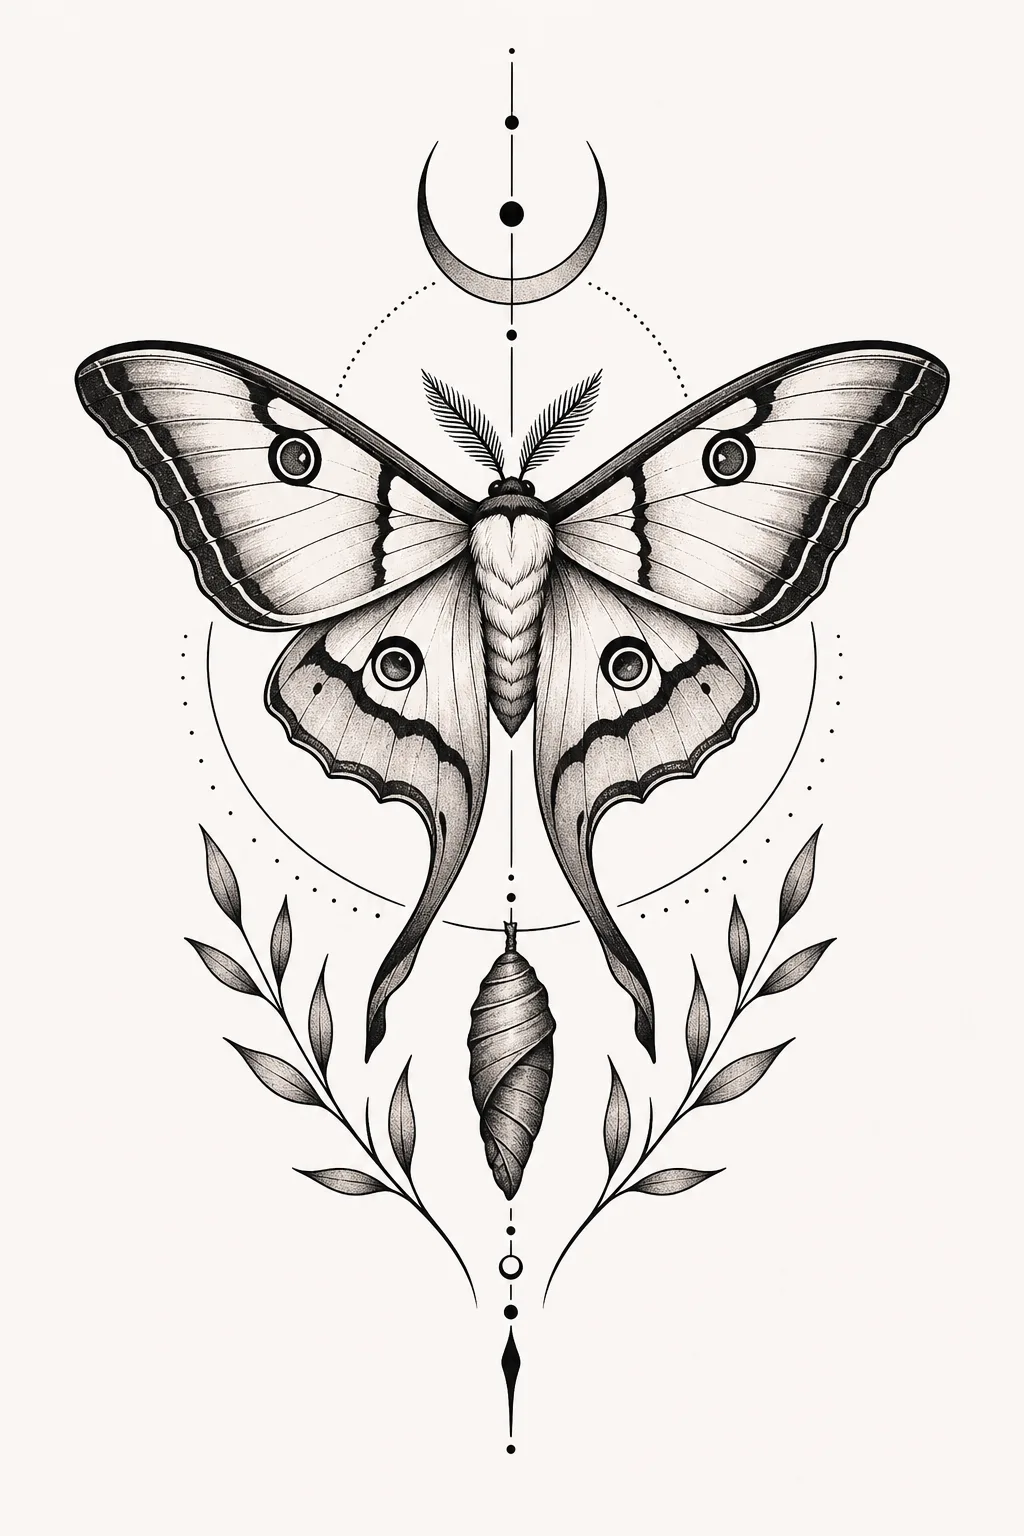
AI-generated concept P0. The model made several choices that the input never specified. This is useful for exploration, but those additions should not be mistaken for the user’s intent.
The structured test used the longer moth concept above, Fine line, Forearm, Medium size, Black and grey, and the same Medium quality.
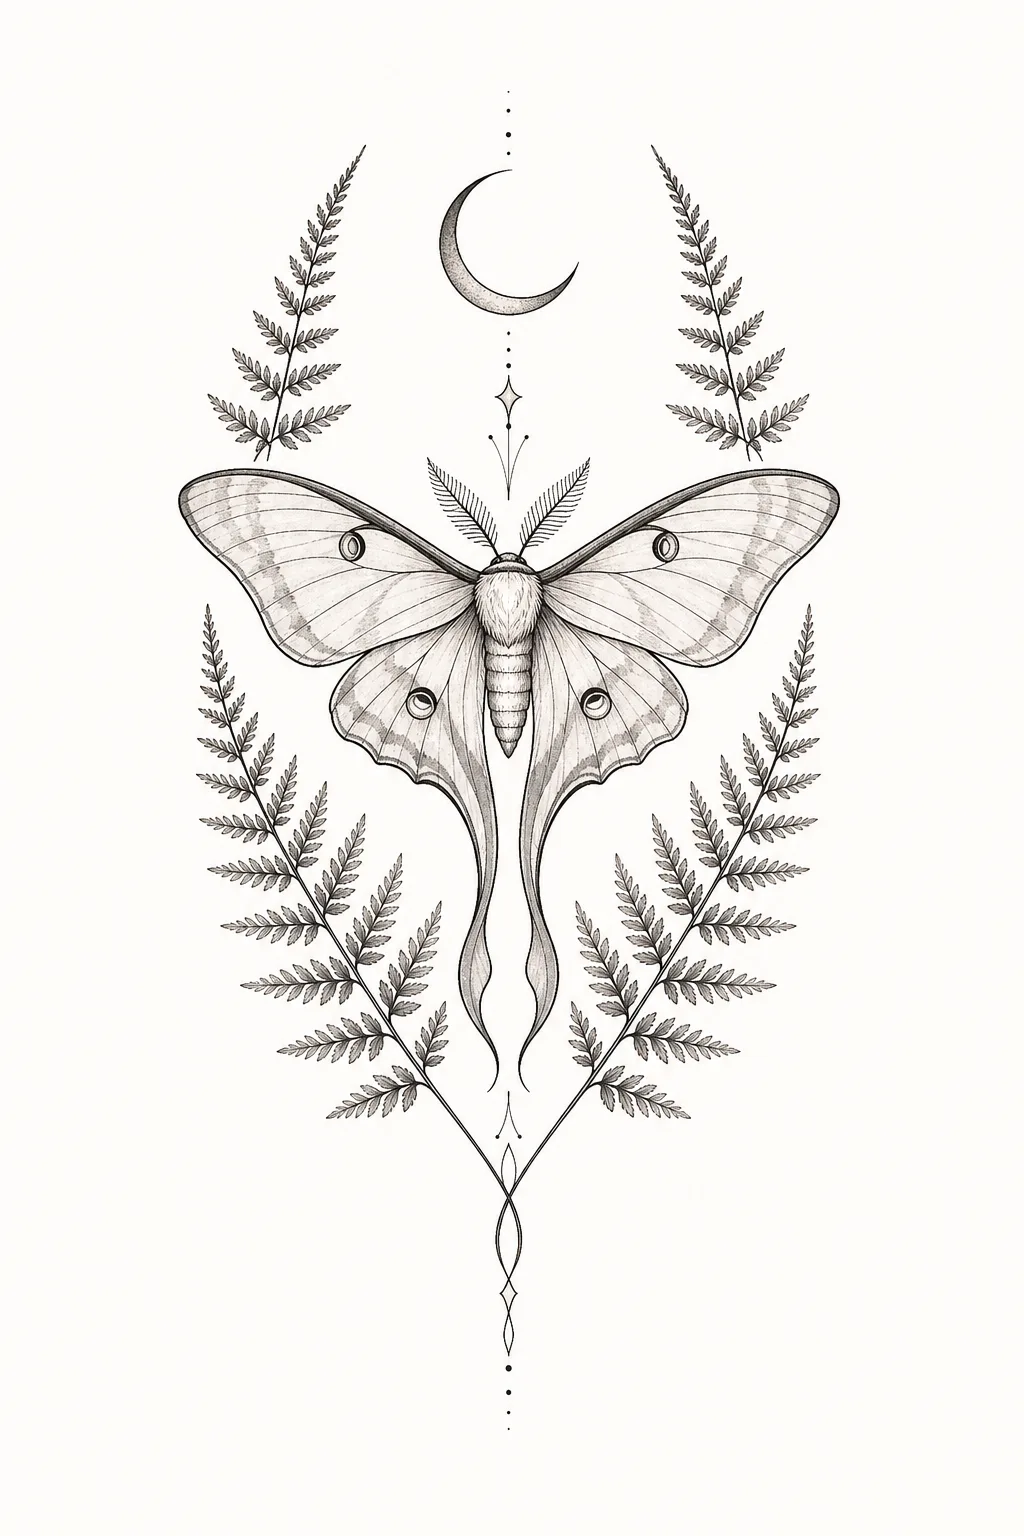
AI-generated concept P1. The result retained the requested moth, crescent, fern direction, vertical layout, and black-and-grey treatment. It also added more foliage than requested, so it still needs editing and artist review.
The lesson is not that one prompt is “best.” The useful difference is traceability. With P1, we can say what was preserved and what needs to change. With P0, many visual decisions came from the model.
This was a small, two-image editorial test, not a promise that repeated generations will be identical.
How to fix the first result
Change one input at a time. Otherwise, you will not know which edit produced the difference.
| Problem in the image | First edit to try |
|---|---|
| The main subject is hard to recognize | Remove secondary objects and ask for a clear silhouette |
| The layout feels wrong for the body area | Keep the concept fixed and change Placement |
| A small idea has too much detail | Select Small and remove tiny internal elements |
| The design feels too heavy | Compare Fine line or Minimalist with the same inputs |
| The image lacks contrast | Clarify black and grey or a limited color relationship |
| The model adds lettering or symbols | Write “no text” and name any symbols that must not appear |
| The result copies the mood but not the meaning | Replace mood adjectives with visible, must-keep elements |
Do not ask the model to imitate a living artist or copy an existing tattoo. Describe the visual properties you value—bold outline, open negative space, asymmetry, limited palette—then ask a tattoo artist to develop an original design.
Copy-ready prompt checklist
Use this before generating:
Main subject:
Personal meaning:
Must-keep visible elements:
Elements to avoid:
Preferred silhouette or direction:

Style:
Placement:
Size category:
Color:
Example:
Main subject: a moth
Personal meaning: change without losing calm
Must keep: a small crescent and two fern leaves
Avoid: text, extra symbols, mechanical symmetry
Direction: clear vertical silhouette

Style: Fine line
Placement: Forearm
Size: Medium
Color: Black and grey
What to send to your tattoo artist
Send the selected concept with a short note that separates decisions from open questions:
- what the subject means;
- what must remain;
- what you are willing to change;
- the body area and approximate measured space;
- what you like and dislike in the AI image;
- a clear statement that it is a concept reference, not a finished design or stencil.
The tattoo artist brief template turns those points into a message you can edit.
AI Tattoo Design creates one private concept per successful generation. A successful generation uses 1 credit; a generation-flow failure automatically returns it, and credits do not expire. Commercial use is supported, but that is not a guarantee that every subject or output is free of third-party rights. The U.S. Copyright Office also explains that copyrightability of generative-AI material depends on human creative contribution and cannot be established by a prompt alone. This is general information, not legal advice. Read the U.S. Copyright Office summary.
When your five decisions are ready, Try the AI Tattoo Design Generator with your brief, then annotate the result for your artist instead of treating the first image as a final tattoo.