Tattoo Placement and Size Guide: Plan the Composition First
Use placement and size to plan tattoo composition, compare a real forearm vs shoulder generation test, and prepare measurements for your artist.
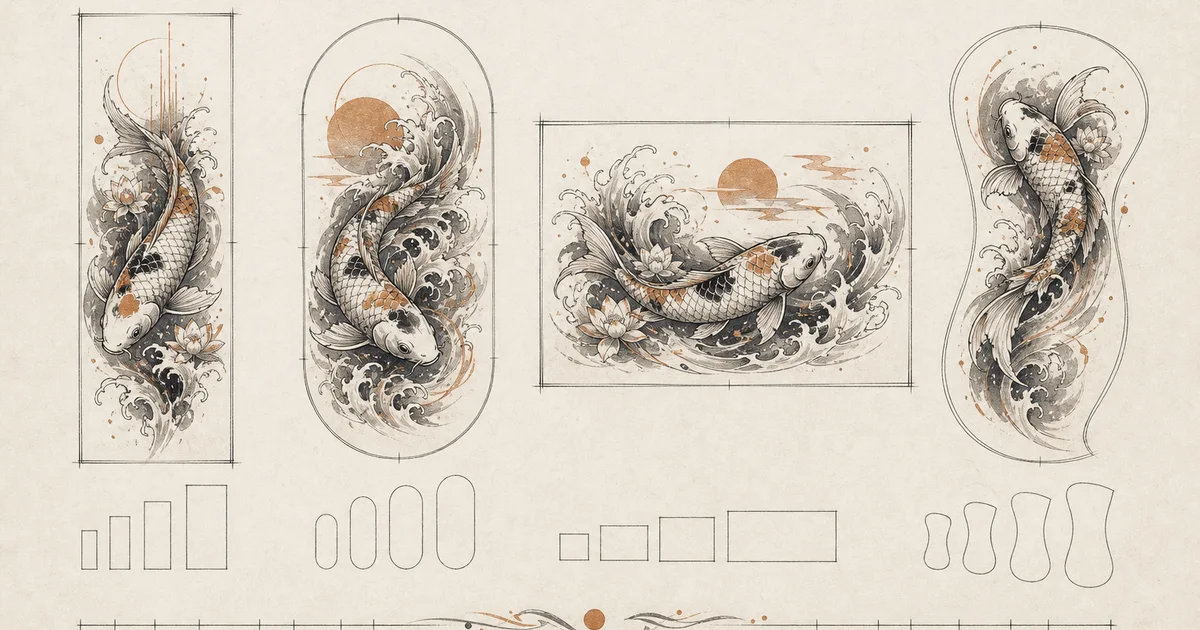
Placement and size affect a tattoo concept before they become exact measurements. A forearm suggests a different shape from a shoulder. A small concept needs a different information budget from a large one.
AI Tattoo Design uses those choices to guide composition, not to simulate skin. The generator does not accept a body photo, does not show an actual-scale preview, and does not decide final centimeters or inches. This guide helps you choose a useful starting category and prepare the questions a tattoo artist must answer.
Placement is a composition instruction
The current generator offers nine placement choices:
| Placement | Direction used by the current prompt | What to inspect in the result |
|---|---|---|
| Unsure | Balanced and adaptable | Is the silhouette flexible enough to reshape? |
| Forearm | Clear vertical flow | Does the subject read from top to bottom? |
| Upper arm / shoulder | Rounded composition | Can the main elements gather without becoming cramped? |
| Chest | Broad composition | Does the subject support width and a clear center? |
| Back / spine | Elongated composition | Can the design extend while keeping one visual path? |
| Ribs / side | Curved, flowing composition | Do the elements follow a bend rather than a rigid rectangle? |
| Thigh | Balanced composition with more presence | Does the subject hold together at a broader scale? |
| Calf | Vertical composition | Does the design stay clear within a narrow direction? |
| Other | Adaptable for later refinement | Have you described the direction in the concept field? |
These are not anatomical approvals. “Rounded for the shoulder” tells the image model to explore a shape. It does not know your shoulder, movement, existing tattoos, or an artist’s technique.
If your area is not listed, choose Other and add a plain-language direction to the concept:
Keep the composition narrow and diagonal, with the subject facing upward.
Size is a detail budget, not a ruler
The generator offers Unsure, Small, Medium, and Large. They do not map to fixed physical dimensions.
Unsure
Use Unsure when the meaning and subject are clear but you want an artist to help decide scale. The prompt asks for a readable silhouette and leaves final detail open.
Small
Small asks the model to limit fine detail. It is useful for testing whether the subject survives simplification.
If a small result still contains many tiny objects, remove secondary elements from the concept. Do not assume that selecting Small has proven those details can be tattooed at a particular measurement.
Medium
Medium allows moderate detail while asking for a clear silhouette. It is a practical comparison setting because it does not push the prompt toward either extreme.
Large
Large allows more layered detail and intentional negative space. It does not mean “add as many objects as possible.” A larger composition still needs hierarchy: one main subject, supporting elements, and areas that let those elements separate.
Original test: forearm vs upper arm and shoulder
We ran a controlled two-image test on July 28, 2026 using the current generator prompt builder. The concept, Blackwork style, Medium size, and Black and grey color stayed fixed. Only Placement changed.
The concept was:
A swimming koi following three curved water lines. No flowers and no letters.
Forearm
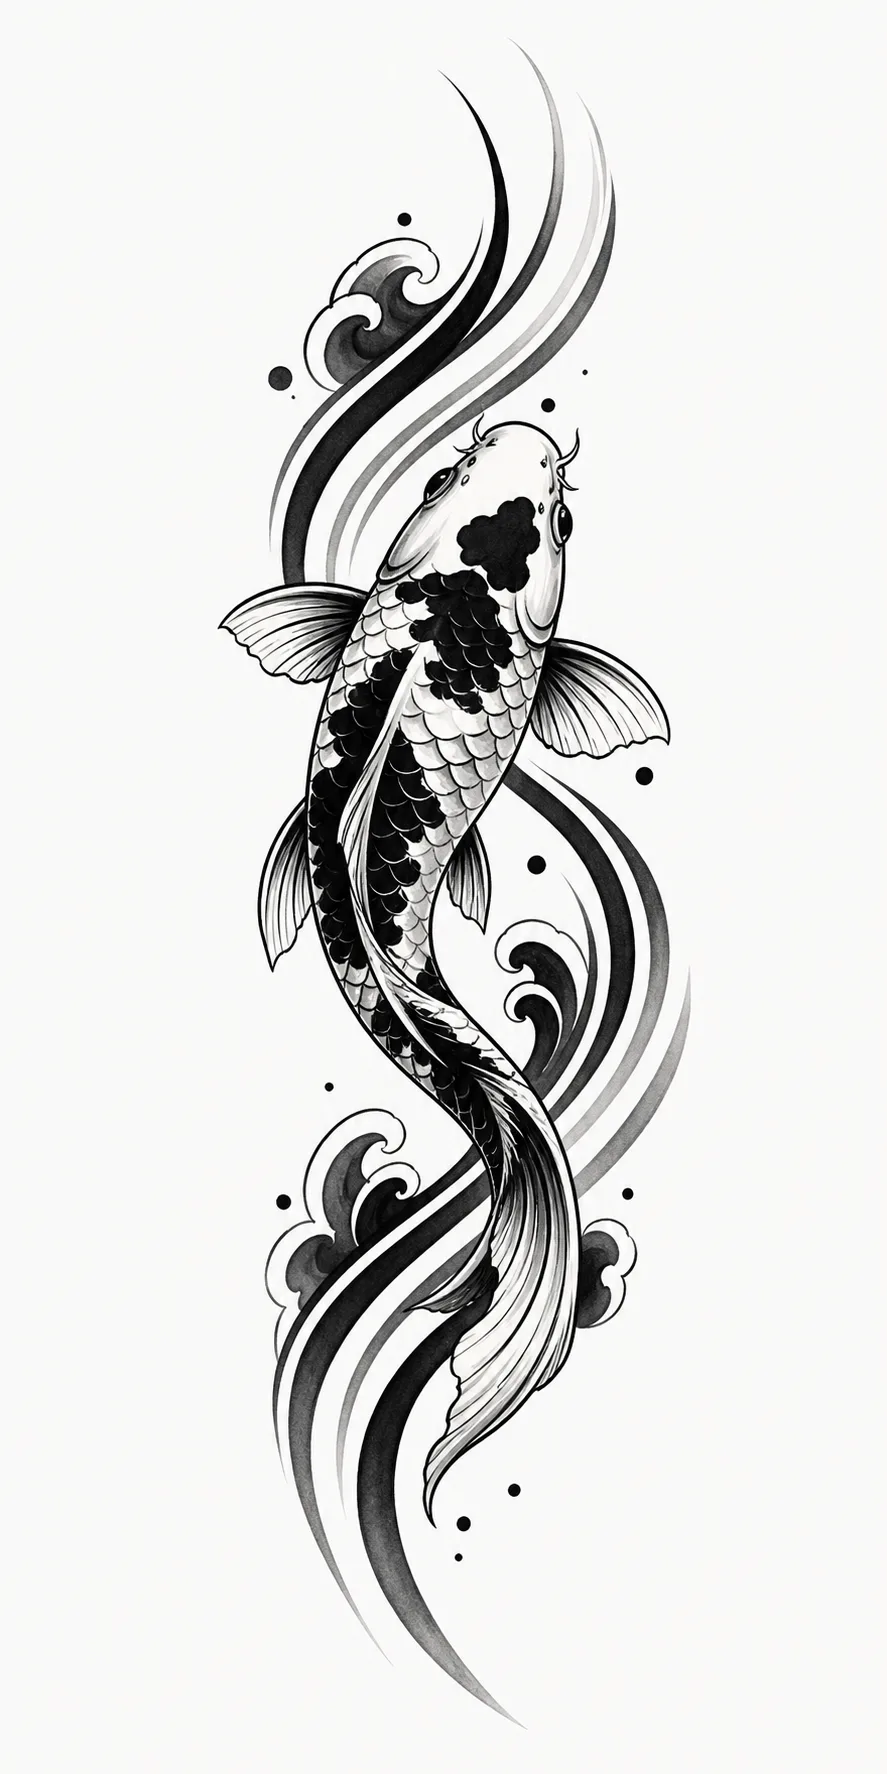
AI-generated concept L1. The koi and water form a narrow, elongated vertical flow. This is a composition reference, not a forearm preview.
Upper arm and shoulder
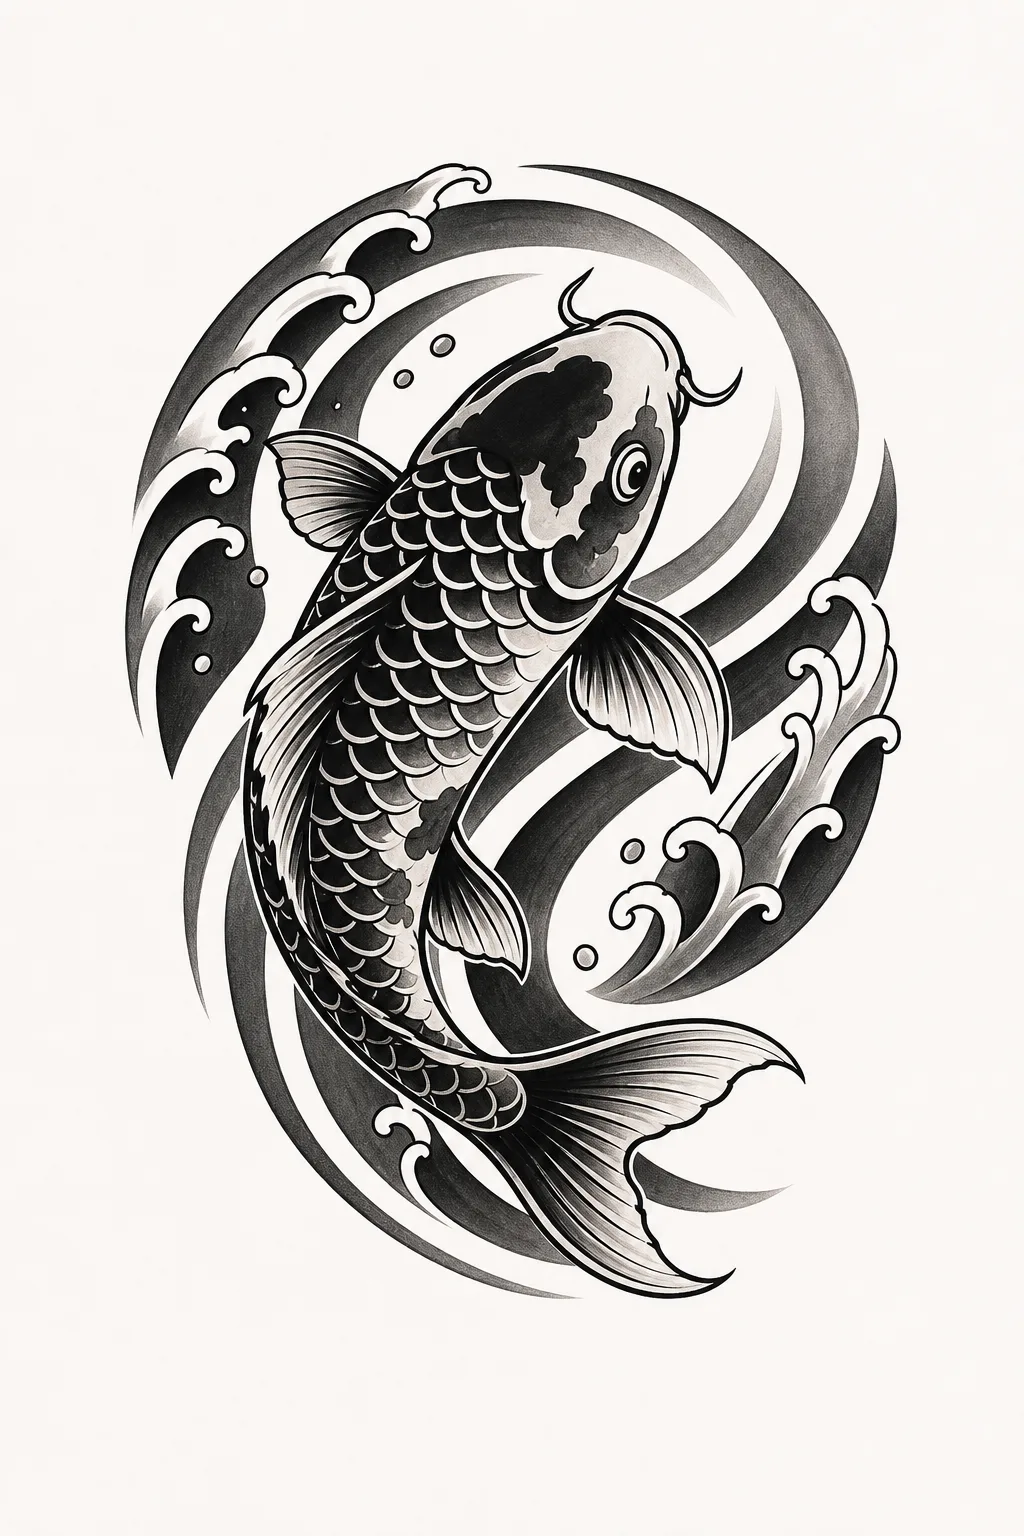
AI-generated concept L2. The same subject is more contained and circular, with water wrapping around the fish. It has not been fitted to a real shoulder.
The visible difference supports one modest conclusion: the current placement selector can steer layout direction. It does not support a claim that either image will fit a particular person. Two outputs are an editorial example, not a repeatability guarantee.
Choose placement and size together
Use these four questions:
- What must be recognizable from the normal viewing direction?
Name the main silhouette before secondary detail. - Is the body area mainly vertical, broad, rounded, or curved for this
concept?
Choose the closest placement direction. - Which details carry meaning, and which can be simplified?
Size should protect the first group, not preserve everything. - What is still uncertain?
Write those points down instead of forcing the model to decide.
For example:
Subject: koi moving upward through three water lines
Must keep: one fish, upward direction, open space around the head
Can change: wave shape and tail angle
Placement direction: forearm, vertical
Size category for concept: medium
Open question: final width and how much water detail fits
Use the five-part prompt guide if your concept field still mixes subject, style, placement, and color into one hard-to-edit paragraph.
Measure after you have a direction
Once you have a useful concept:
- Identify the real body area and orientation.
- Measure an approximate width × height range on that area.
- Note whether the design should face or move in a particular direction.
- Mark which elements can be removed if the artist needs more space.
- Bring the range—not a fixed demand—to the consultation.
A screen image is not a physical-size preview. Print or measuring methods should be agreed with the artist. The artist must also account for the real body surface and create the final stencil.
Public studio consultation forms show why these details matter. For example, KOON.INK asks clients for preferred style, placement, estimated size, a description, and reference files. That is one studio’s process, not a universal booking rule, but it demonstrates how placement and estimated size move from inspiration into a real consultation. View the bilingual consultation fields.
What this guide intentionally does not decide
This article does not provide:
- a pain ranking;
- healing or infection advice;
- an “ideal” body area;
- a fixed price or session time;
- a universal minimum size;
- an assessment of scars, skin, or medical conditions.
Those questions depend on a person, an artist, and sometimes a qualified health professional. They cannot be answered by a concept generator.
For a source-based overview of surface and deeper recovery, read how long a tattoo takes to heal.
Add placement and size to the artist brief
Your handoff should include:
Body area:
Direction or orientation:
Approximate measured width × height:
Main subject:
Must-keep details:
Details that may be simplified:
Style and color direction:
What the AI concept gets right:
What the AI concept gets wrong:
Questions for the artist:
The complete tattoo artist brief guide explains how to send that information without presenting the AI result as a finished design.
AI Tattoo Design creates one private concept per successful generation. A successful generation uses 1 credit; a generation-flow failure automatically returns it, and credits never expire. The output can be used commercially under the service terms, but that does not clear rights in every subject or third-party work.
When you have a subject and a likely body area, Test a placement-aware composition. Then take approximate measurements and let your tattoo artist decide the final fit, detail, linework, and stencil.